Using Flash Photography: Getting Started
Flash photography can seem daunting for beginner photographers. Many associate it with wedding photographers and complex setups. But understanding the basics of flash can dramatically improve your photography, especially when dealing with tricky lighting situations.
Why Use Flash?
The most common reason to use flash is to brighten a scene, but it's much more than that. Flash can:
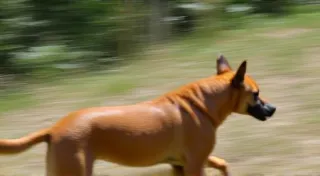
- Freeze Motion: Flash is a very short burst of light, effectively freezing moving subjects, like kids playing or pets.
- Fill in Shadows: On bright sunny days, shadows can be harsh and unflattering. Flash can soften them.
- Balance Ambient Light: This is a core technique. You can use flash to add light while preserving the natural look and feel of the existing light.
- Create Dramatic Effects: With more advanced techniques, flash can be used to create moody and artistic photographs.
Understanding Your Flash Options
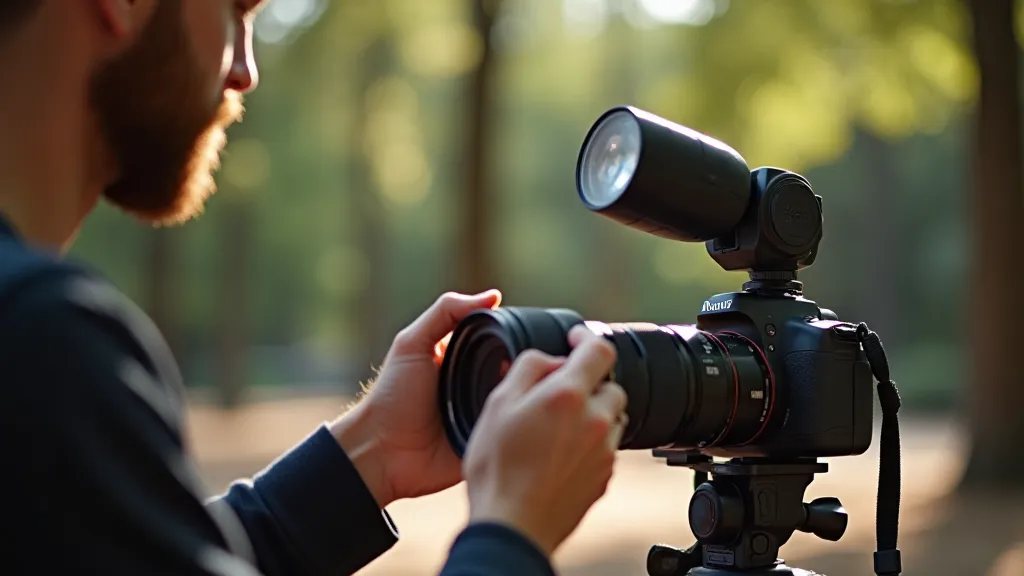
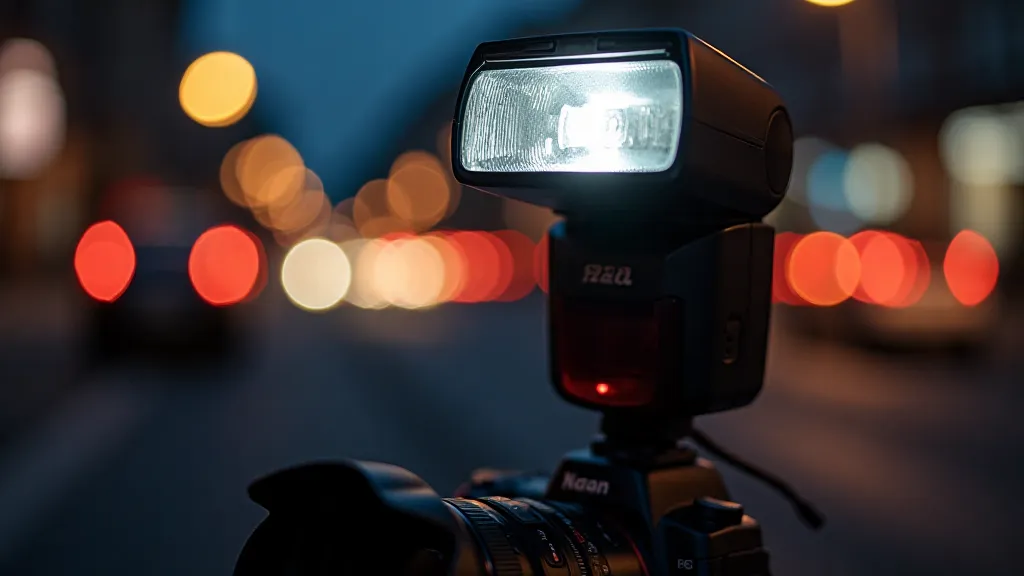
Most photographers start with either the built-in flash on their camera or an external speedlight (a small, detachable flash unit). Built-in flashes are convenient, but their power and positioning are limited. Speedlights offer more control and flexibility.
Basic Flash Modes
Let's look at the most common flash modes you’ll encounter:
- Auto Mode: The camera and flash automatically determine the flash power. This is the easiest option but offers the least control.
- Red-Eye Reduction: A variation on auto, this attempts to minimize the red-eye effect caused by the flash reflecting off the retina.
- Fill-Flash: This mode fires the flash even in bright light to fill in shadows. You’ll need to adjust the flash compensation to avoid overexposure.
- Slow Sync: This fires the flash at the end of a slower shutter speed. It’s useful for capturing motion blur in the background while still illuminating the subject.
- Manual Mode: You have complete control over the flash power. This takes practice, but gives you the most creative possibilities.
Balancing Flash with Ambient Light (Fill Flash)
This is where things get a bit more interesting. The goal is to use the flash to add light *without* making the photo look like it was taken with flash. Here's how:
- Start in Aperture Priority (Av or A) Mode: Let the camera control the shutter speed.
- Set your ISO as low as possible.
- Choose a moderate aperture (e.g., f/5.6 or f/8).
- Set the flash to TTL (Through-The-Lens) mode: This allows the camera to meter the scene and set the appropriate flash power.
- Take a test shot.
- Adjust Flash Compensation: If the photo is too bright, reduce the flash compensation. If it’s too dark, increase it. Small adjustments (e.g., -1 or +1 stop) can make a big difference.
Common Flash Photography Mistakes & How to Avoid Them
- Overpowering the Scene: Too much flash can flatten the image and remove the natural look. Start with a low flash power and gradually increase it.
- Red-Eye: Use red-eye reduction mode or avoid using flash when photographing people at very close range.
- Harsh Shadows: Bounce the flash off a wall or ceiling (if it's white and clean) to soften the light. Flash diffusers can also help.
- Ignoring Ambient Light: Remember that flash is just *one* light source. Pay attention to the existing light in the scene and use the flash to complement it.

Practice Makes Perfect
Flash photography takes practice. Don't be afraid to experiment! Try different modes, settings, and techniques to see what works best for you. Start with simple situations and gradually move on to more complex ones. Watch some videos and read more articles online.
With a little effort, you'll be using flash photography like a pro in no time!