HDR Photography: Combining Multiple Exposures
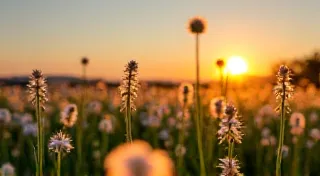
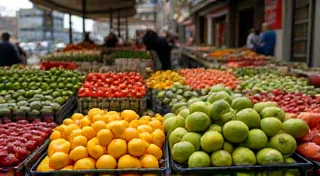
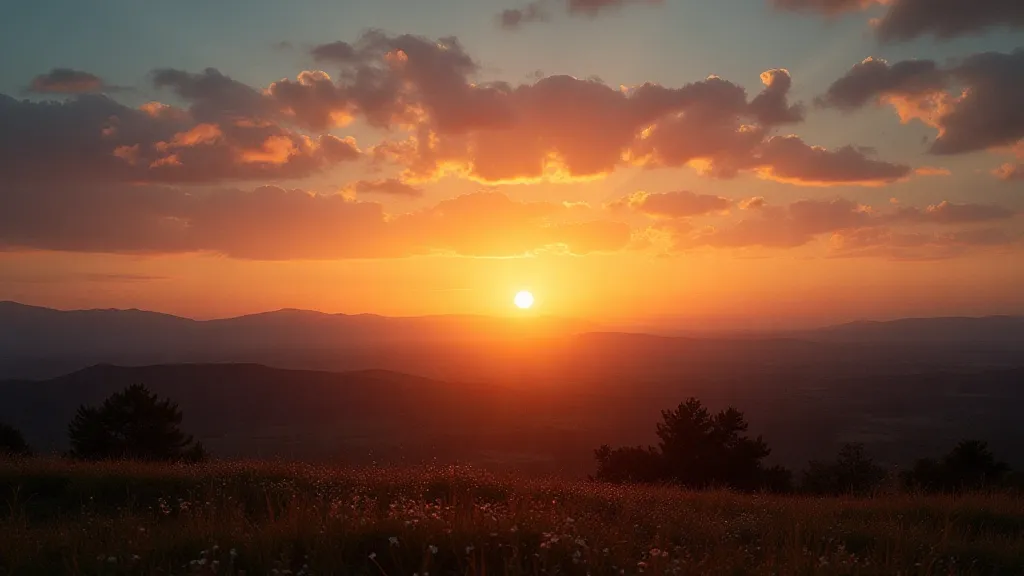
HDR, or High Dynamic Range, photography can seem intimidating, but it’s a fantastic technique for expanding the possibilities of your images. It’s especially useful when dealing with scenes that have a wide range of brightness – from deep shadows to bright highlights – like landscapes at sunrise or sunset, interiors with strong window light, or any situation where a single exposure simply can’t capture all the detail.
Understanding Dynamic Range
Dynamic range refers to the difference between the darkest and brightest parts of a scene. A standard camera sensor has a limited dynamic range. If a scene has a huge dynamic range, the camera will struggle to capture detail in both the shadows and the highlights. You'll likely end up with blown-out highlights (completely white) or crushed shadows (completely black) – losing valuable information. HDR photography aims to overcome this limitation.
How HDR Photography Works: The Basic Process
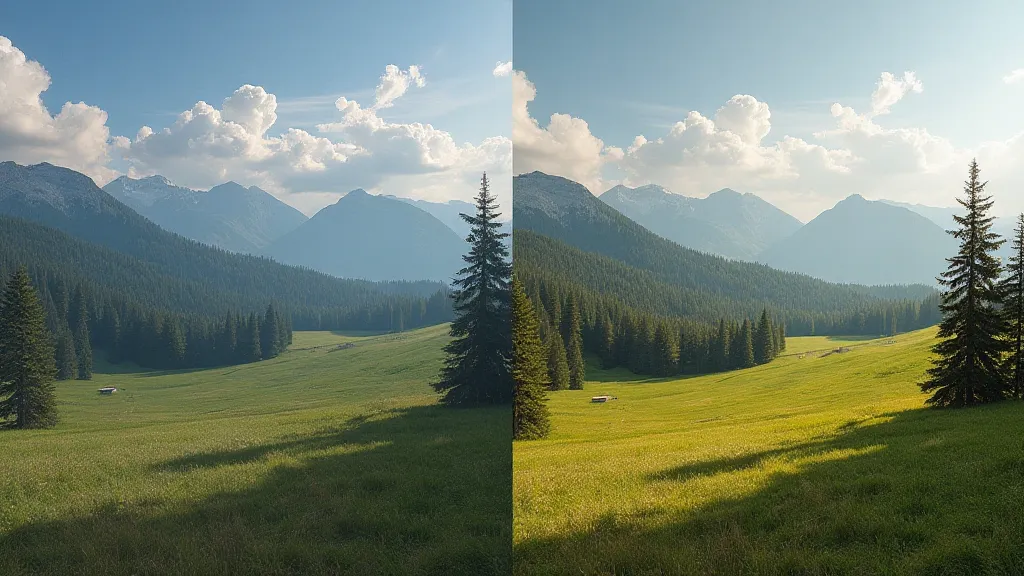
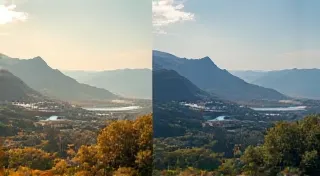
The core idea of HDR is to take multiple photographs of the same scene, each with a different exposure. Typically, you'll take three images: one underexposed (darker), one correctly exposed (neutral), and one overexposed (brighter).
Then, specialized software (or your camera's built-in HDR mode) combines these images into a single image. The software “maps” the darkest parts of the underexposed image with the brighter parts of the overexposed image, creating a final image that retains detail in both the shadows and the highlights. It’s like blending the best parts of each exposure.
Shooting for HDR: Camera Settings & Technique
Here are a few key tips for successfully shooting HDR photos:
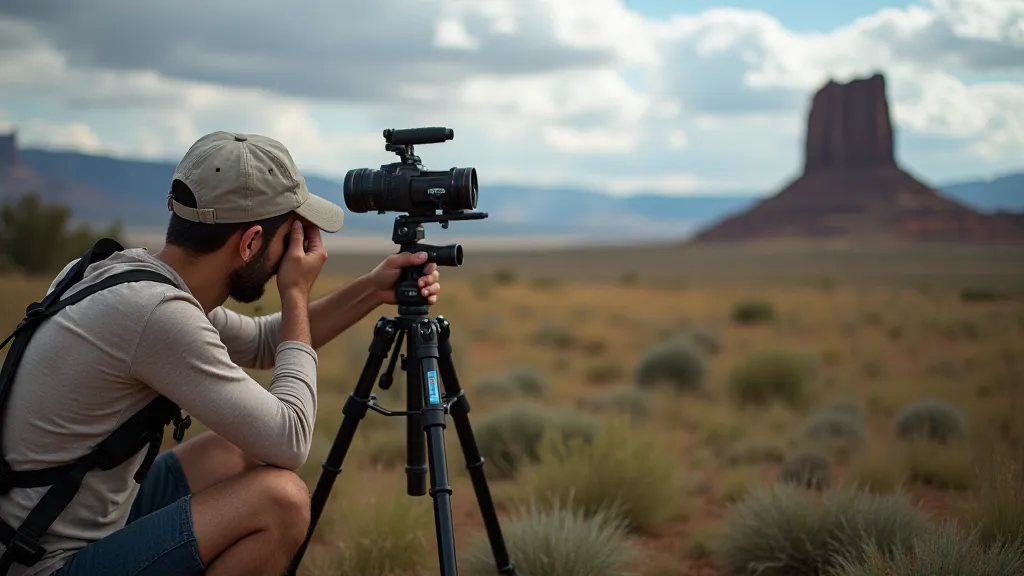
- Use a Tripod: This is absolutely crucial. Because you’re taking multiple exposures, any slight movement of the camera will result in blurry images. A tripod ensures your shots are perfectly aligned.
- Shoot in RAW: RAW files contain much more data than JPEGs, giving you greater flexibility when processing your HDR images.
- Bracket Your Exposures: Most cameras have a bracketing feature that automatically takes a series of photos at different exposure levels. If not, manually adjust your camera's exposure compensation. A typical bracket might be -2 stops, 0 stops (normal), and +2 stops.
- Disable Auto Settings: Turn off auto white balance and auto focus (focus once and lock it). This prevents inconsistencies between the exposures.
Processing HDR Images: Software Options
Once you’re done shooting, you’re ready to process your HDR images. Here are a few popular software options:
- Adobe Photoshop: Photoshop has powerful HDR merging capabilities.
- Adobe Lightroom: Lightroom’s HDR merging tool is another excellent option.
- Dedicated HDR Software: Programs like Aurora HDR are specifically designed for HDR processing and offer a range of advanced features.
- Camera’s Built-in HDR Mode: Many cameras have a built-in HDR mode that automatically merges exposures in-camera. While convenient, this usually offers less control than dedicated software.
Potential Challenges and Tips
HDR photography isn’t always straightforward. Here are some potential problems and how to avoid them:
- Ghosting: If anything moves significantly between exposures (people, cars, leaves blowing in the wind), you might see ghosting in the final HDR image. Minimize movement as much as possible.
- Over-Processed Look: It's easy to overdo HDR processing, resulting in an unnatural, cartoonish look. Use subtle adjustments and try to maintain a realistic appearance.
- Color Shifts: Sometimes, HDR processing can introduce color shifts. Pay attention to color balance and make adjustments as needed.
Experiment and Practice
Like any photography technique, HDR requires practice. Start with simple scenes and gradually experiment with different settings and processing methods. Don't be afraid to try new things and develop your own unique HDR style. The key is to have fun and explore the creative possibilities of this powerful technique!