Understanding Aperture: A Beginner's Guide
Aperture is a fundamental camera setting that can dramatically impact the look and feel of your photographs. For beginner photographers, it can often feel intimidating, but understanding its basics is key to taking control of your camera and creating images you’ve always envisioned. This guide will break down aperture in simple terms, exploring what it is, how it affects depth of field, and practical tips for using it effectively.
What is Aperture?
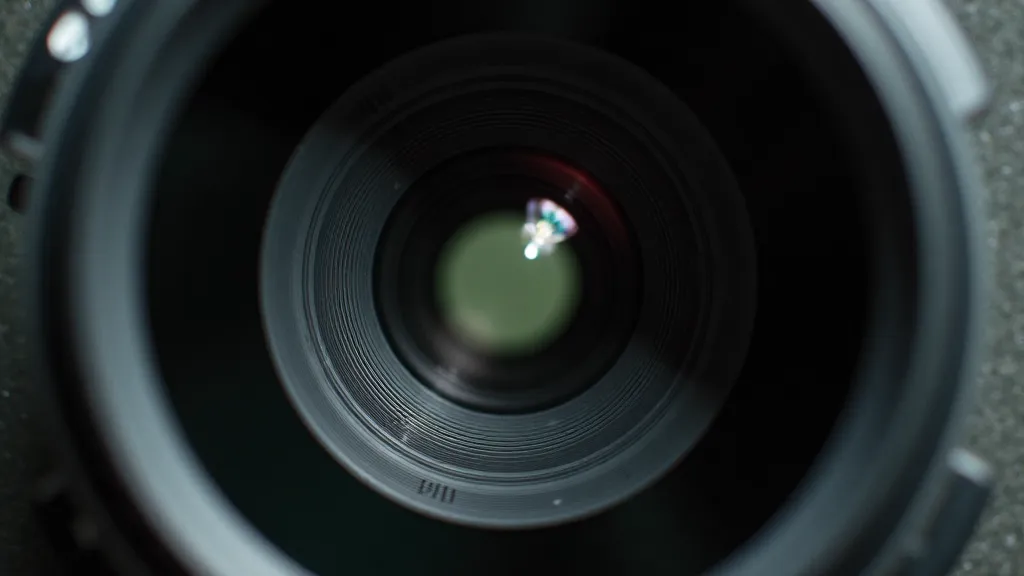
Simply put, aperture refers to the opening in your camera lens that allows light to pass through to the sensor. Think of it like the pupil of your eye – it expands and contracts to control the amount of light entering. Aperture is measured in f-stops, like f/1.4, f/2.8, f/5.6, f/8, f/11, and so on. The smaller the f-number (e.g., f/1.4), the wider the aperture opening. Conversely, a larger f-number (e.g., f/16) means a smaller aperture opening.
Aperture and Depth of Field
One of the most significant effects of aperture is its control over depth of field (DOF). Depth of field refers to the portion of your image that appears sharp and in focus. It's a key element in how you direct the viewer's eye and create a specific mood within your photograph. Understanding depth of field is also vital if you’re pursuing landscape photography tips, as maximizing sharpness throughout the scene is often crucial.
- Wide Aperture (e.g., f/1.4 – f/2.8): A wide aperture creates a shallow depth of field. This means only a small area of your image will be in focus, while the background and foreground will be blurred. This is great for portraits, isolating a subject, and creating a dreamy, artistic look.
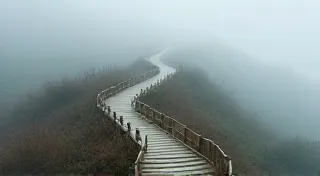
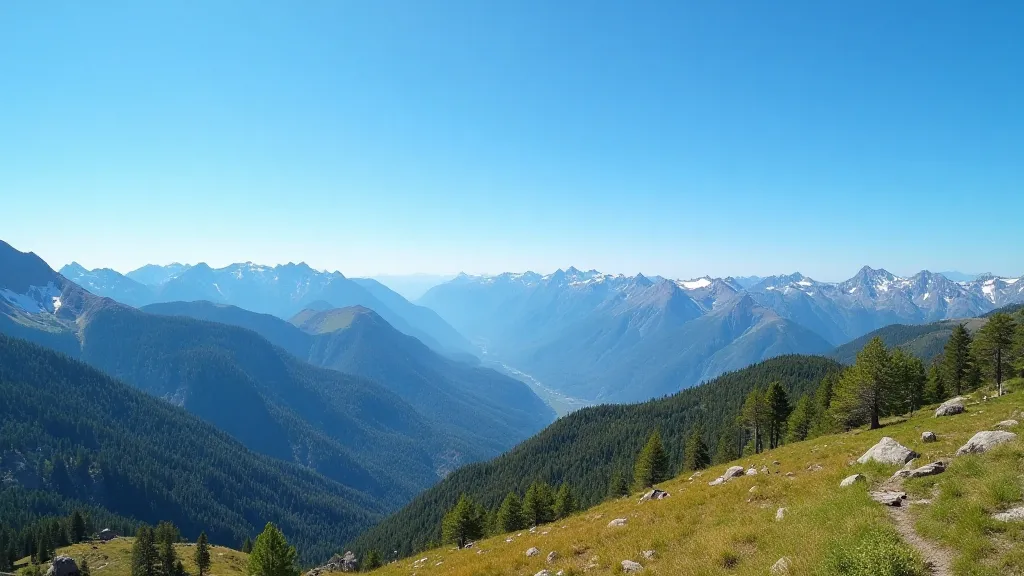
- Narrow Aperture (e.g., f/8 – f/16): A narrow aperture creates a large depth of field. This means more of your image, from foreground to background, will be in focus. This is ideal for landscapes, group photos, and situations where you want everything to be sharp.
Practical Tips for Using Aperture
Here are a few tips to help you master aperture:
- Experiment: The best way to learn is by doing! Shoot the same scene with different aperture settings and observe the differences in depth of field. This is particularly helpful for seeing firsthand the impact on sharpness and how that can be leveraged.
- Portraits: Start with a wide aperture (around f/2.8 – f/4) to blur the background and make your subject stand out. Consider how this blurring can contribute to the overall story and emotional impact of the portrait.
- Landscapes: Use a narrow aperture (around f/8 – f/16) to ensure everything from the foreground rocks to the distant mountains is in focus. Achieving this level of detail often requires careful planning and potentially using techniques like focus stacking.
- Consider Lighting: Aperture also affects the amount of light entering the camera. In low-light conditions, you may need to use a wider aperture to compensate. Be mindful of your ISO and shutter speed as you adjust aperture to maintain a well-exposed image.
- Understand the Trade-offs: Remember, a wider aperture lets in more light but reduces depth of field. A narrower aperture increases depth of field but requires more light or a slower shutter speed. Think about these trade-offs when composing your shot.

Common Aperture Settings and Their Uses
Here's a quick guide to some common aperture settings and what they're generally used for:
- f/1.4 – f/2.8: Portraits, low-light photography, creating a shallow depth of field. This range is often favored by those exploring macro photography, allowing for extreme close-ups with a beautiful background blur.
- f/4 – f/5.6: General purpose, group photos, decent background blur. A good starting point for many photographic scenarios.
- f/8 – f/11: Landscapes, architecture, ensuring sharpness throughout the scene. Often used to balance depth of field and diffraction.
- f/16 – f/22: Maximum depth of field, landscapes where everything needs to be in focus. Be aware that at these smaller apertures, diffraction can slightly soften the image, so it's not always the ideal choice.
Beyond the Basics: Aperture and Creative Vision
While understanding the technical aspects of aperture is crucial, it's equally important to consider its creative potential. Aperture isn't just about getting things in focus; it's a powerful tool for storytelling and conveying emotion.
Think about how you can use a shallow depth of field to draw the viewer’s attention to a specific element within a scene. Imagine a portrait where only the eyes are in focus, creating a sense of mystery or intimacy. Conversely, a large depth of field can create a sense of scale and grandeur, perfect for capturing the vastness of a landscape.
Experiment with different aperture settings to see how they affect the overall mood and impact of your photographs. Don’s be afraid to break the rules and try something unexpected. The best way to learn is through experimentation and by developing your own unique visual style.
Advanced Considerations: Diffraction and Lens Characteristics
As you delve deeper into photography, you’re likely to encounter concepts like diffraction and lens characteristics that can impact your results with aperture. Diffraction occurs when light bends around the edges of an aperture, which can cause a slight softening of the image at very small apertures (typically f/16 and beyond).
Also, different lenses have varying “sweet spots” – aperture ranges where they produce the sharpest images. Many lenses are sharpest around f/5.6 or f/8. It’s worth researching the characteristics of your lenses to understand how they perform at different aperture settings. This knowledge will inform your creative choices and help you achieve the desired results.
Troubleshooting Common Aperture Challenges
Even experienced photographers sometimes encounter challenges when working with aperture. Here are a few common issues and how to address them:
- Shallow Depth of Field Too Shallow: If your subject is moving or your focus isn’t perfect, a shallow depth of field can result in an out-of-focus image. Try using a slightly smaller aperture (e.g., f/4 instead of f/2.8).
- Large Depth of Field Too Large: Sometimes, you want to isolate your subject, but a large depth of field makes it difficult to achieve. Try using a wider aperture.
- Image Too Dark: If you’re using a wide aperture in low light, your image may be underexposed. Compensate by increasing your ISO or slowing your shutter speed.
- Image Too Soft (Diffraction): If you’re using a very small aperture and your image appears soft, try stopping down slightly (e.g., f/11 instead of f/16).
Conclusion
Understanding aperture is a vital step in becoming a more confident and creative photographer. Don’t be afraid to experiment and explore how different aperture settings can transform your images. With a little practice, you'll be mastering this crucial camera setting in no time! Remember, photography is about expressing your unique vision, and aperture is a powerful tool to help you achieve that.