Macro Photography: Exploring the Tiny World
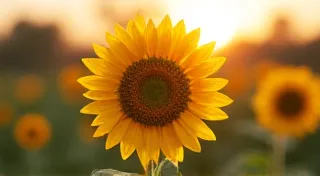
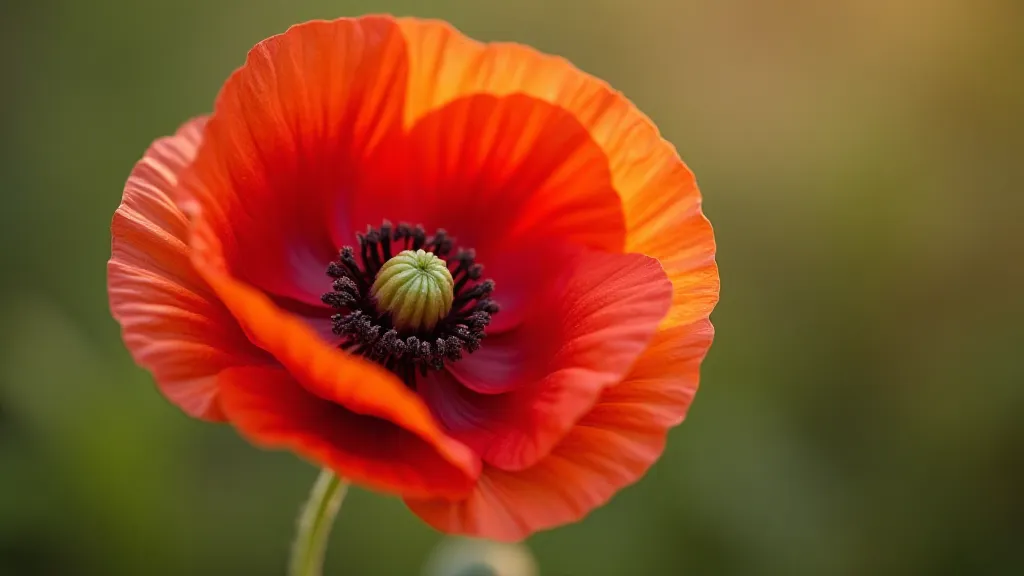
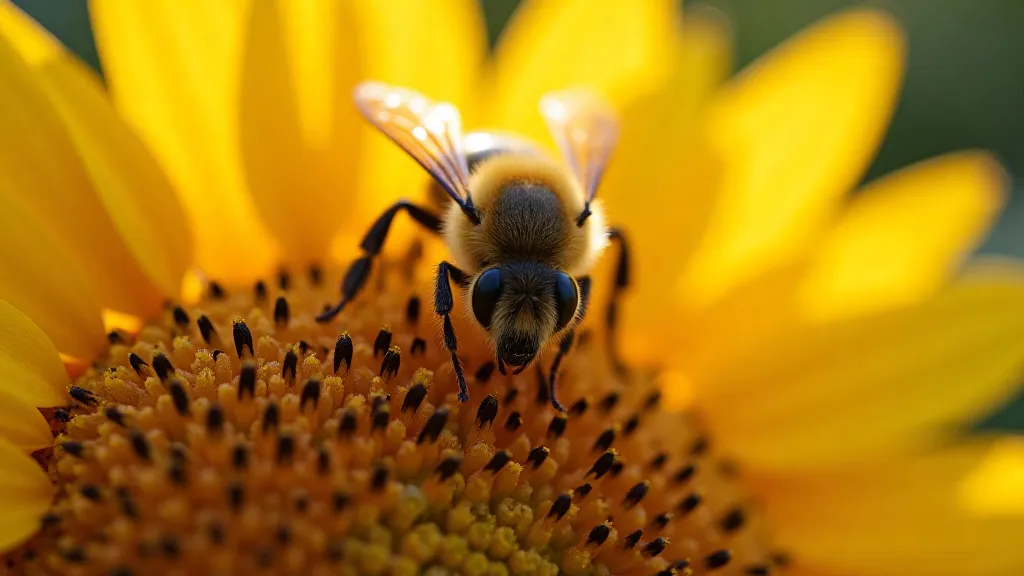
Have you ever looked closely at a flower’s intricate details, or watched a bee meticulously collecting pollen? Macro photography lets you share those fascinating moments with the world. This guide will introduce you to the basics of macro photography and provide beginner photography tips to get you started.
What is Macro Photography?
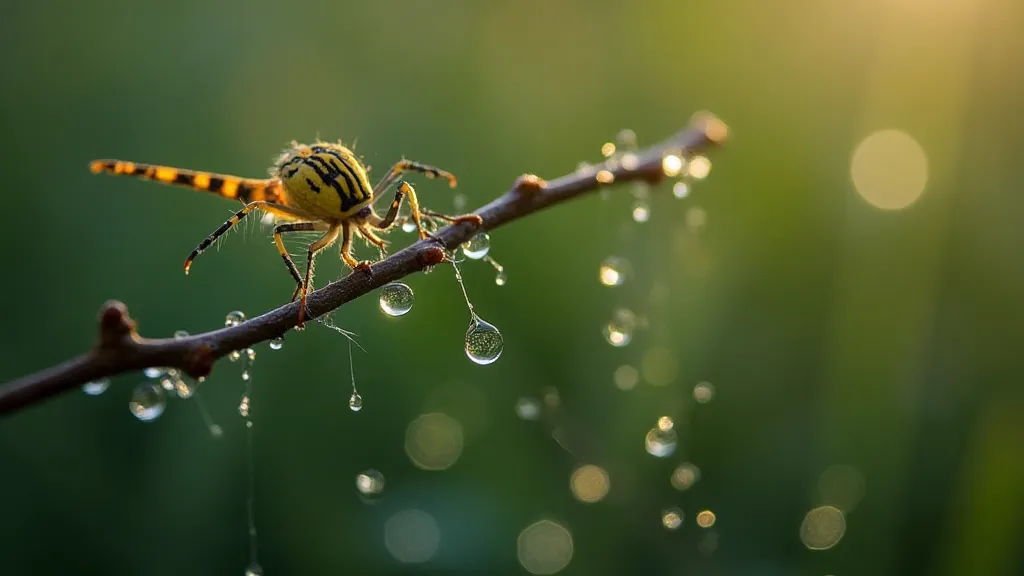
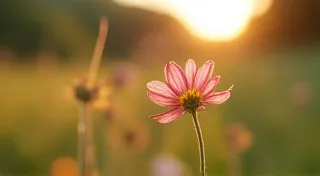
Macro photography, at its core, is extreme close-up photography. While the term often implies a 1:1 reproduction ratio (meaning the subject appears the same size on the sensor as it is in reality), it broadly refers to photography that captures incredibly detailed, close-up images. It’s a fantastic way to discover beauty often overlooked in the everyday world.
Essential Gear for Macro Photography
While you *can* get started with a standard lens, specialized gear can significantly enhance your macro photography. Here’s a breakdown:
- Macro Lens: A dedicated macro lens is your best bet. They’re designed to achieve very close focusing distances and offer exceptional image quality. Look for focal lengths between 60mm and 105mm – these offer a good balance of magnification and working distance.
- Extension Tubes: A more affordable option, extension tubes sit between your camera and lens, increasing the lens's close-focusing ability.
- Close-Up Filters: These screw onto the front of your lens and act like magnifying glasses. They’re the most budget-friendly choice but can sometimes compromise image quality.
- Tripod: Macro photography requires extreme precision, and even the slightest movement can blur your images. A tripod is essential for sharp results.
Camera Settings for Macro Success
Getting the right camera settings is crucial. Here are some recommendations:
- Aperture: Start with a narrower aperture (higher f-number, like f/8 or f/11) for a greater depth of field. Remember, even a small shift in focus can cause your subject to go blurry in macro photography.
- ISO: Keep your ISO as low as possible (ideally ISO 100 or 200) to minimize noise.
- Shutter Speed: Adjust your shutter speed to ensure proper exposure, taking into account the narrow aperture. Use a tripod to allow for slower shutter speeds.
- Focus Mode: Manual focus is often preferred in macro photography. This allows you to pinpoint exactly what you want to be in focus. Live View with magnification can be very helpful.
- Shooting Mode: Aperture Priority mode (Av or A) can be a good starting point.
Composition Tips for Stunning Macro Photos
Beyond the technical aspects, thoughtful composition elevates your macro photography:
- Rule of Thirds: Apply the classic rule of thirds to create balanced and visually appealing compositions.
- Leading Lines: Use lines (like veins on a leaf or the path of a raindrop) to draw the viewer's eye into the scene.
- Backgrounds: Pay close attention to your backgrounds. A cluttered background can distract from your subject. Try to find clean, blurred backgrounds (bokeh) using a wide aperture.
- Angles: Experiment with different shooting angles. Getting down low or shooting from above can create unique perspectives.
Lighting in Macro Photography
Light plays a vital role. Direct sunlight can create harsh shadows. Consider these options:
- Diffused Light: Shooting on a cloudy day or using a diffuser can soften the light and reduce harsh shadows.
- Golden Hour: The warm, soft light of the golden hour (shortly after sunrise or before sunset) is ideal for macro photography.
- Reflectors: A reflector can bounce light into shadowed areas, creating more even illumination.
Practice and Patience
Macro photography takes practice! Don’t be afraid to experiment with different settings and techniques. Be patient, and enjoy the process of discovering the hidden beauty in the small things.