Mastering ISO: Noise, Sensitivity, and Perfect Exposure
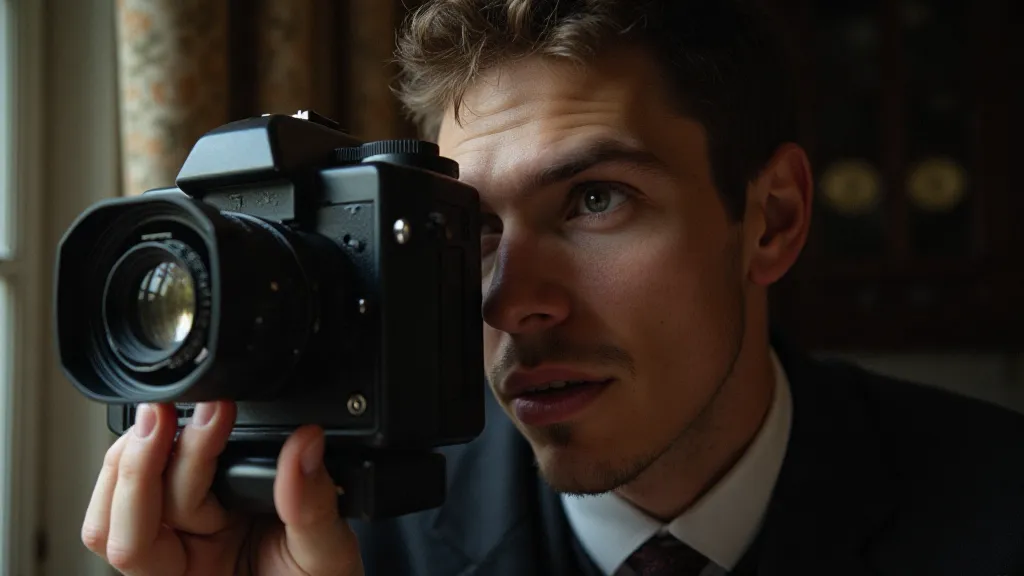
One of the most fundamental, yet often confusing, camera settings is ISO. For beginner photographers, understanding ISO can feel like unlocking a secret level. This guide will break down what ISO does, how it affects your images, and how to find the sweet spot for achieving perfect exposure while minimizing noise.
What is ISO?
ISO represents your camera’s sensitivity to light. It’s derived from the International Organization for Standardization (ISO), and the number reflects the degree of amplification applied to the incoming light signal. Essentially, it tells your camera how eager it is to capture an image in low-light conditions.
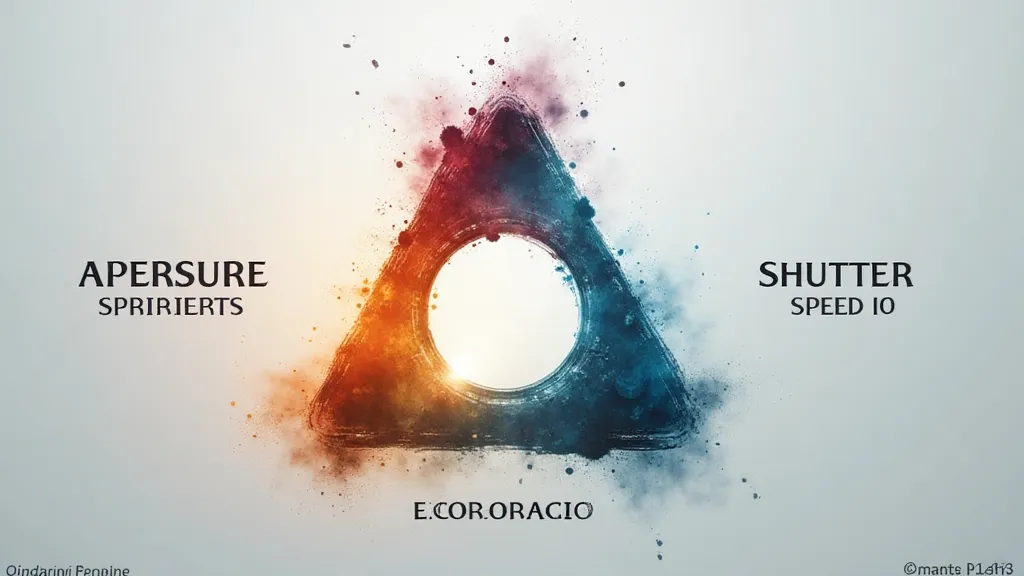
Think of it like this: When the light is abundant (bright sunshine), your camera doesn't need to work hard to capture an image. However, when it’s dim (indoors, twilight), your camera needs to amplify the signal. ISO controls that amplification. It's one corner of the exposure triangle, a concept every photographer should grasp—alongside aperture and shutter speed—to control the brightness and aesthetic qualities of their photographs.
ISO Values and Their Effects
Most digital cameras offer a range of ISO values, typically starting at ISO 100 or 200 and extending to ISO 3200, 6400, or even higher. Here's a breakdown of what to expect at different ISO levels:
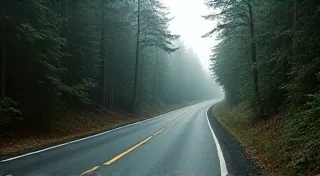
- ISO 100-200: This is your baseline. Ideal for bright, outdoor conditions where plenty of light is available. Images are clean and noise-free. This often allows for maximum depth of field, which can be a significant advantage in landscape photography.
- ISO 400-800: Suitable for slightly overcast days or shooting in shaded areas. You're starting to introduce a bit more sensitivity. Even at these relatively low ISOs, the interaction with aperture and shutter speed remains critical for achieving a balanced exposure. Think of it as a delicate dance between light and camera settings.
- ISO 1600-3200: Useful for indoor photography, such as shooting in a dimly lit room or at an evening event. Noticeable noise may start to appear, especially in darker areas of the image. Understanding shutter speed explained is key here – sometimes a faster shutter speed is necessary to freeze motion, even if it means bumping up the ISO slightly.
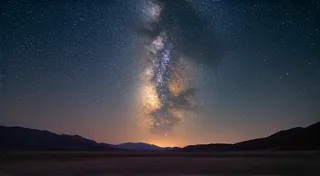
- ISO 6400 and above: Reserved for challenging low-light situations. Noise becomes quite significant, and image quality will be compromised. While modern cameras handle high ISO values better than older models, it's still best to avoid these settings whenever possible. If you're interested in capturing the beauty of the night sky, it's worth looking into photographing the night sky and understanding how to mitigate noise in those challenging conditions.
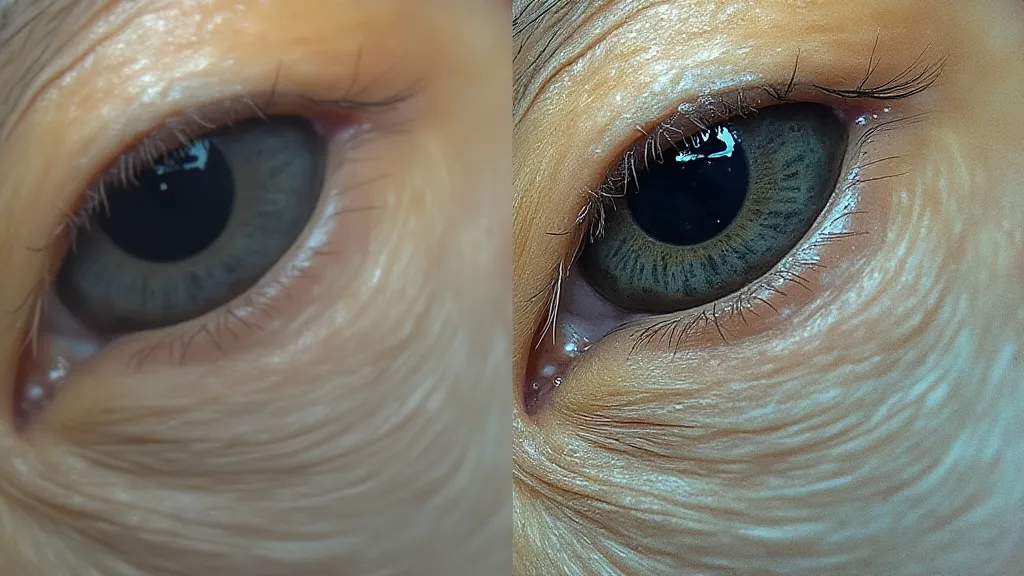
The Noise Factor
The primary downside to increasing ISO is the introduction of noise (grain) in your images. Noise appears as tiny, random color variations that degrade the overall image quality. The higher the ISO, the more noise you're likely to see. It’s often described as the ‘speckled’ or ‘grainy’ appearance that detracts from the clarity of a photograph.
While noise reduction software can help, it often comes at the cost of losing detail. Therefore, it’s better to keep your ISO as low as possible while still achieving a properly exposed image. Experimenting with different aperture settings can also help; a wider aperture (smaller f-number) lets in more light, potentially allowing you to keep the ISO lower.
Finding the Sweet Spot
The "sweet spot" for your camera's ISO is the lowest value that allows you to achieve a well-exposed image without introducing too much noise. This sweet spot can vary slightly from camera to camera, and it’s highly dependent on the specific camera sensor and its capabilities. It’s also influenced by the lighting conditions – what’s a sweet spot on a sunny day will be different than what it is in a dimly lit room.
Here's how to find it:
- Start with ISO 100: Check your camera’s meter (the indicator that tells you if your image is properly exposed). This initial step is about establishing a baseline – what's the lowest ISO that might work?
- Increase ISO incrementally: If your meter indicates underexposure (too dark), increase the ISO in small increments (e.g., 100 or 200) until the meter reads zero. Be mindful of how each increment affects the image preview – are you starting to see the telltale signs of noise?
- Review the image: Take a test shot and zoom in to inspect for noise. If the noise is minimal, that ISO value is likely your sweet spot for those lighting conditions. Consider shooting a bracketed exposure – taking multiple shots at slightly different exposures – to ensure you capture the best possible image.
- Adjust aperture and shutter speed: Remember that aperture and shutter speed also affect exposure. Experiment with these settings before resorting to higher ISO values. Sometimes a small adjustment to your aperture can dramatically improve your options.
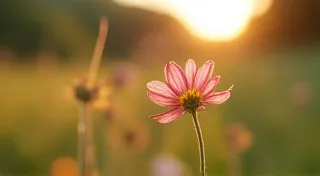
- Consider Composition: While technically not about ISO, remember that even with perfect exposure, a poorly composed photo can be disappointing. Consider using leading lines to draw the viewer's eye and create a more compelling image.
ISO and Other Settings
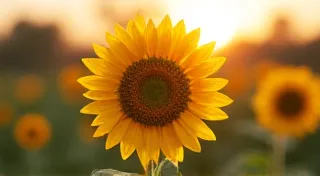
It's important to remember that ISO doesn't work in isolation. It interacts with aperture and shutter speed to determine exposure. Understanding the exposure triangle—aperture, shutter speed, and ISO—is crucial for mastering photography. Mastering this 'triangle' allows for creative control – choosing the right settings not just for proper exposure, but also for artistic effect. For instance, a shallow depth of field (achieved with a wide aperture) can isolate a subject, while a fast shutter speed can freeze motion.
Beyond the Basics: Creative Uses of ISO
While we've focused on using ISO to achieve technically correct exposures, it can also be used creatively. For example, intentionally using a higher ISO can create a dreamy, grainy look in portraits or landscapes. This technique, often referred to as 'ISO push,' can add a unique artistic flair to your images. It’s a deliberate choice to prioritize a certain aesthetic over perfect technical clarity.
Troubleshooting Common ISO Issues
Problem: Image is too dark even at the highest ISO. Possible solutions: Ensure your lens is properly attached and functioning. Check for any obstructions blocking the light. Consider using a flash or adding external lighting.
Problem: Images are noisy even at low ISO settings. This could indicate a problem with your camera's sensor. Consider having it professionally cleaned or repaired.
Conclusion
Mastering ISO is a fundamental step in becoming a better photographer. By understanding how ISO affects your images, you can achieve optimal exposure while minimizing noise and capturing stunning photographs. Don’t be afraid to experiment and find what works best for your camera and shooting style! The interplay between ISO, aperture, and shutter speed is a lifelong journey of discovery for any photographer.