Natural Light Photography: Harnessing the Sun's Power
Natural light photography is arguably the most beautiful and accessible form of photography. It’s what many professionals rely on and what beginners can master relatively easily. Forget expensive studio setups – the sun is your most powerful and readily available light source! This guide will break down different types of natural light and give you the skills to make the most of them. We'll cover the fundamentals, explore specific lighting scenarios, discuss essential camera settings, and offer tips to elevate your natural light photography skills.
Understanding the Basics
Before diving into specific lighting scenarios, let’s cover some fundamentals. The quality of natural light changes dramatically throughout the day and depends heavily on weather conditions. Understanding these differences is key to consistent results. Proper exposure is crucial, and factors like aperture, ISO, and shutter speed all play a vital role. Knowing how these elements interact can be the difference between a poorly lit photo and a stunning image. For a deeper dive into how ISO affects your images, check out our article on Mastering ISO: Noise, Sensitivity, and Perfect Exposure.
Direction of Light
The angle at which light hits your subject greatly affects the mood of your photo. Consider:
- Front Lighting: Light hits the subject directly. Minimizes shadows but can flatten the image.
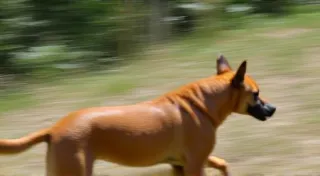
- Side Lighting: Light comes from the side, creating shadows and texture. Great for highlighting details.
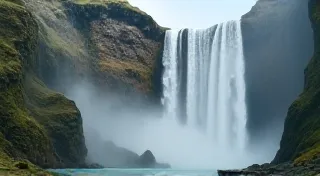
- Back Lighting: The light source is behind your subject. Can create dramatic silhouettes or a soft, ethereal glow (requires careful exposure).
Types of Natural Light & How to Use Them
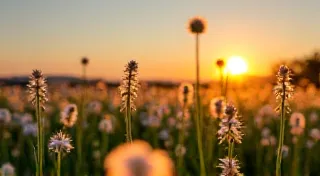
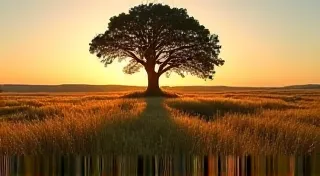
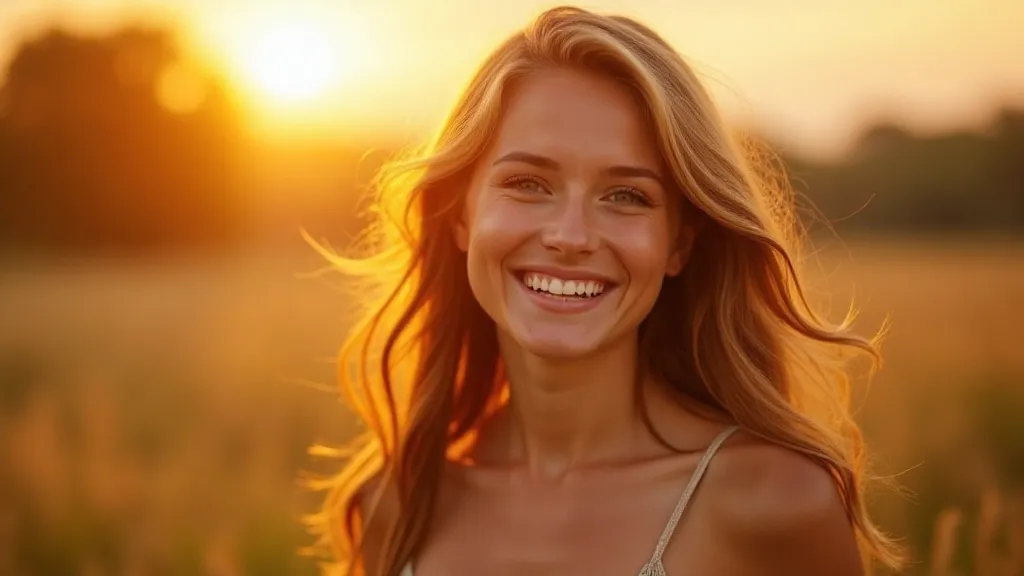
Golden Hour: The Magic Window
Golden hour refers to the hour after sunrise and the hour before sunset. During this time, the sun is low in the sky, casting a warm, soft, and flattering light. It’s highly sought after by photographers for a reason – it's incredibly beautiful! The warm tones created during this time are very pleasing to the eye, and can transform even the most ordinary scene into something truly special. It's a crucial time to have your camera ready, as these conditions don't last long. Planning ahead is key to capturing the best golden hour shots.
Tips for Golden Hour Photography:
- Experiment with different apertures to control depth of field and emphasize your subject. Understanding how your aperture affects the final image is key to creative control; learn more about Understanding Aperture: A Beginner's Guide.
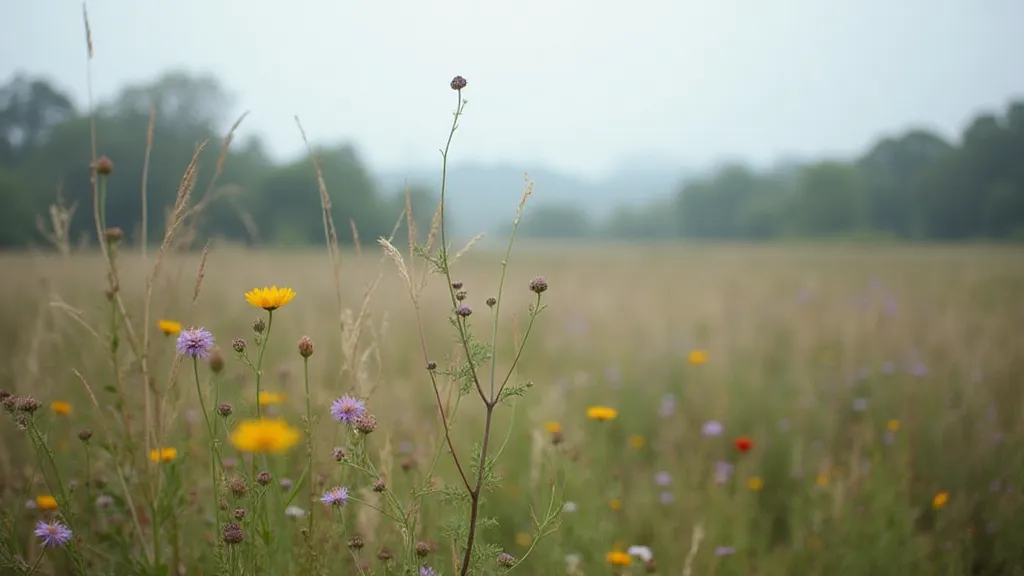
Overcast Days: Soft and Even Lighting
While a sunny day might seem ideal, overcast days can be a photographer’s best friend. The clouds act as a giant diffuser, scattering the light and creating a soft, even illumination. This type of light is flattering for portraits and minimizes harsh shadows. It’s like having a massive, free softbox above you! The consistent and even lighting eliminates harsh contrasts, making it easier to achieve well-exposed images. This often results in less post-processing, as the tones are already balanced.
Advantages of Overcast Light:
Tips for Overcast Light:
- Be mindful of the light's direction, even on overcast days. It still travels in a certain path, affecting the image.
Shade: Finding Pockets of Soft Light
Even on sunny days, shade can provide beautiful, soft lighting. Look for shade under trees, buildings, or overhangs. This light is less intense than direct sunlight, reducing harsh shadows and providing more balanced exposure. It offers a refuge from the bright, harsh sunlight, creating a more subdued and tranquil atmosphere. Finding and utilizing shade effectively can drastically improve your photos, even when the sun is beating down.
Tips for Shade Photography:
- Consider how the surrounding environment influences the overall mood of the image.

Camera Settings for Natural Light Photography
Here are a few camera settings that will help you succeed. Mastering these settings and understanding their interactions is the key to creating beautiful, well-exposed natural light photographs. Consistent experimentation will help develop a feel for how each setting affects the final image.
Beyond the Basics: Creative Techniques
Once you're comfortable with the fundamentals, you can start experimenting with more advanced techniques. One popular method is combining multiple exposures to achieve a wider dynamic range than a single shot can capture. This is particularly useful in scenes with high contrast, such as landscapes with bright skies and dark foregrounds. If you want to explore this further, check out our article on HDR Photography: Combining Multiple Exposures.
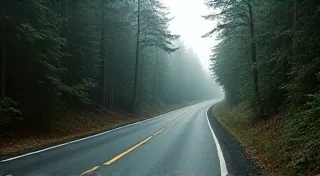
Dealing with Challenging Lighting Conditions
Natural light isn't always cooperative. Sometimes you encounter situations where the lighting is truly difficult to work with. For example, shooting at midday on a bright sunny day can produce harsh, unflattering shadows. Similarly, photographing under a dark forest canopy presents unique challenges. Understanding how to mitigate these problems is essential for any photographer serious about mastering natural light.
Practice Makes Perfect!
The best way to master natural light photography is to get out there and experiment! Try shooting at different times of the day and in different weather conditions. Pay attention to how the light affects your photos and adjust your settings accordingly. Don't be afraid to make mistakes – that's how you learn! And remember, even seemingly unfavorable conditions can lead to unexpected and beautiful results. Expand your horizons and challenge yourself to see the world in a new light.