Landscape Photography Tips for Beginners
Capturing breathtaking landscapes can feel daunting for a beginner photographer. But with a few essential tips and a little practice, you can start creating stunning images. This guide will walk you through the key elements of landscape photography, focusing on composition, depth of field, and timing.
Understanding Composition
Composition is arguably the most critical aspect of landscape photography. A technically perfect image can still fall flat if the elements aren't arranged thoughtfully. Here are some fundamental composition techniques to consider:
- Rule of Thirds: Imagine your frame divided into nine equal parts by two horizontal and two vertical lines. Placing key elements along these lines or at their intersections often creates a more balanced and engaging composition.
- Leading Lines: Use natural or man-made lines (roads, rivers, fences) to draw the viewer's eye into the scene. These lines create a sense of depth and guide the eye to the main subject.
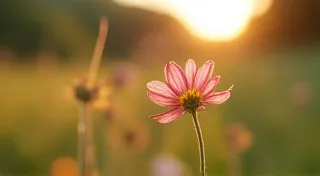
- Foreground Interest: A strong foreground element, like a rock, flower, or interesting texture, adds depth and scale to the landscape. It also gives the viewer a point of entry into the scene.
- Symmetry and Patterns: Look for symmetrical elements or repeating patterns in the landscape. These can create a sense of harmony and visual appeal. Sometimes, a slight asymmetry can be even more compelling, creating a dynamic tension.
Mastering Depth of Field
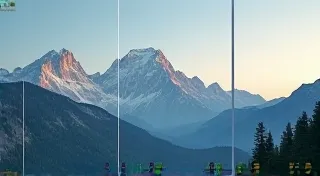
Depth of field refers to the area of the image that appears sharp and in focus. In landscape photography, you generally want a large depth of field so that everything from the foreground to the background is sharp. Achieving this often involves careful manipulation of camera settings. Understanding how aperture, focus point, and the hyperfocal distance interact is key to sharp, detailed landscapes.
Many photographers new to landscape photography find the concepts of aperture and focus a bit confusing, but a little exploration will illuminate the process. Consider exploring understanding depth of field for a more in-depth explanation of how aperture, focus point, and hyperfocal distance all contribute to image sharpness.
- Aperture: Use a small aperture (high f-number, like f/8, f/11, or even f/16) to maximize depth of field.
- Focus Point: Focus on a point roughly one-third of the way into the scene. This helps ensure that both the foreground and background are reasonably sharp.
- Hyperfocal Distance: Researching and using the hyperfocal distance can help you achieve maximum sharpness across the entire scene. (This is a more advanced concept, but worth exploring later.)
Timing is Everything
The time of day significantly impacts the light and mood of a landscape photograph. The quality of light dictates the final feel of the image – soft and diffused, or harsh and dramatic. Planning your shoots around the predicted light can drastically improve your results.
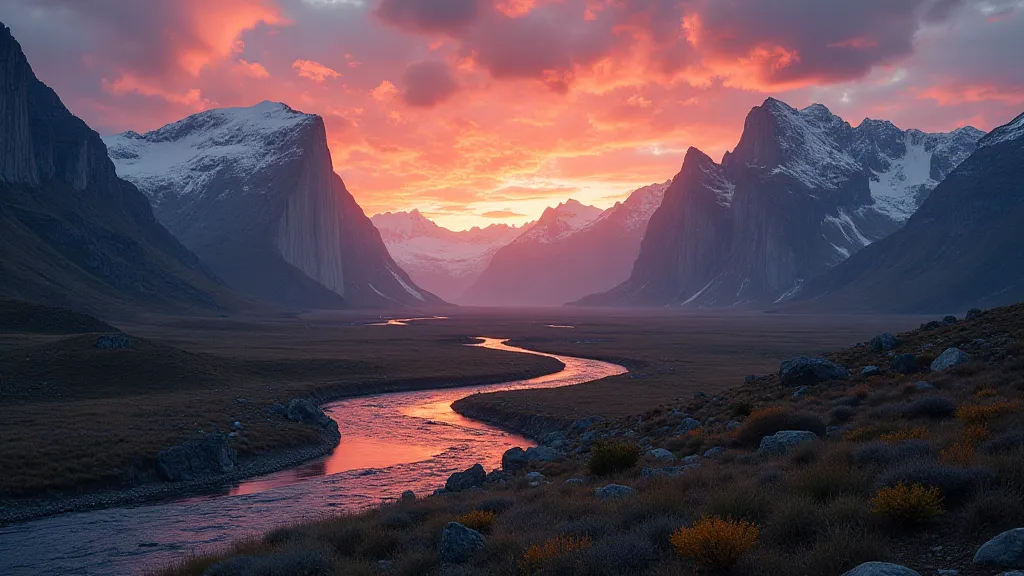
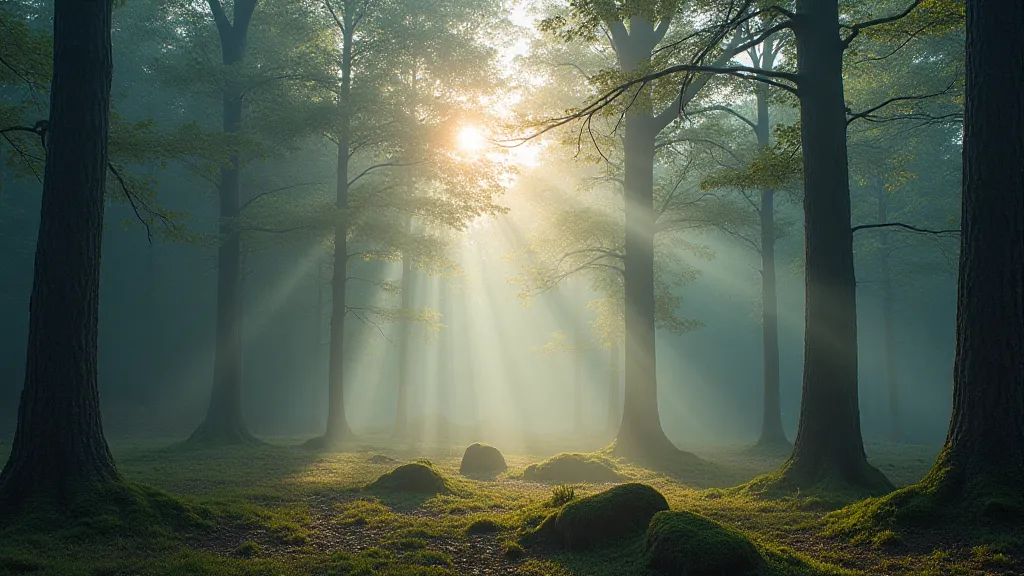
- Golden Hour: The hour after sunrise and the hour before sunset are known as the golden hour. During this time, the light is soft, warm, and diffused, creating beautiful shadows and highlights.
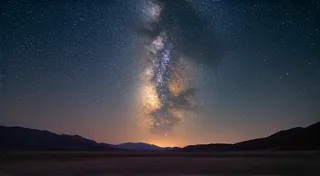
- Blue Hour: The period just before sunrise and just after sunset, known as the blue hour, offers a cool, ethereal light that can be incredibly atmospheric. This time offers a unique challenge in exposing for a wide dynamic range, but the result is often worth it.
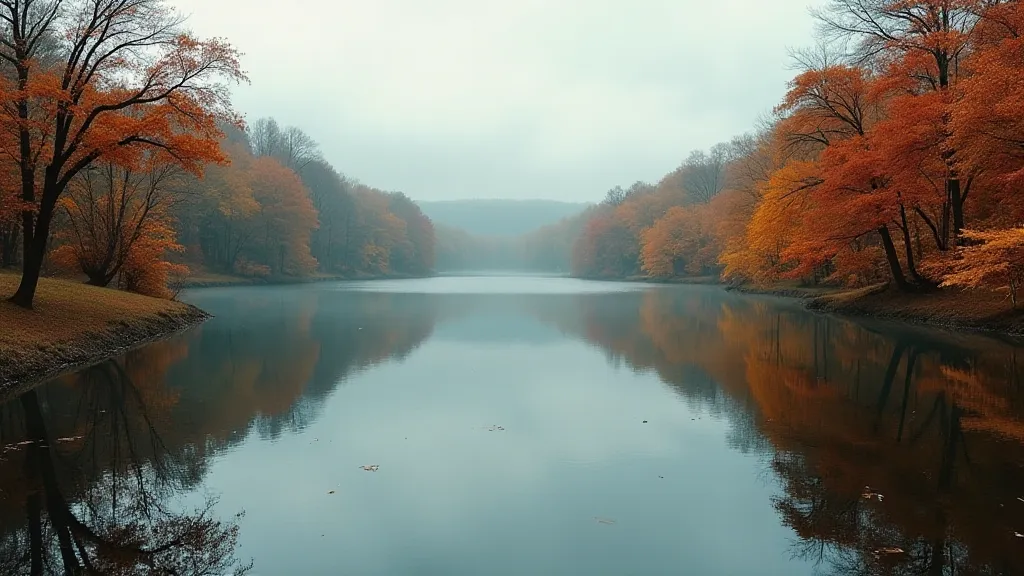
- Overcast Days: Don't dismiss overcast days! The diffused light can be excellent for showcasing details and colors without harsh shadows. While the quality of light isn’t as dramatic as during golden or blue hour, it allows for greater color saturation and detail retention.
Essential Camera Settings
While creative composition and timing are vital, understanding your camera settings is equally important. Mastering your camera and its menus unlocks the full potential of your photography.
- ISO: Keep your ISO as low as possible (typically ISO 100 or 200) to minimize noise.
- Shutter Speed: Adjust your shutter speed to achieve proper exposure. Use a tripod for longer exposures to avoid camera shake. Longer exposures can be used to smooth out water or clouds.
- White Balance: Experiment with different white balance settings to achieve the desired color temperature. While the camera’s auto white balance is often adequate, experimenting with different settings – like cloudy or shade – can create a more evocative mood.
- Shoot in RAW: Shooting in RAW format gives you more flexibility when editing your photos. The extra information captured in RAW files can be invaluable when correcting exposure or white balance issues. Consider exploring simple photo editing in Lightroom to further refine your images.
Beyond the Basics: Advanced Techniques
Once you're comfortable with the fundamentals, consider these advanced techniques to elevate your landscape photography:
- Focus Stacking: For ultimate sharpness from foreground to background, explore focus stacking. This technique involves taking multiple images with different focus points and combining them in post-processing.
- Panorama Stitching: Create expansive landscapes by stitching together multiple images. This is a great way to capture a wider field of view than your lens allows.
- Long Exposure Photography: Use long exposures to create dreamy effects, blurring water and smoothing out clouds. Requires a sturdy tripod and often a neutral density filter.
Practice and Experiment!
The best way to improve your landscape photography is to get out there and practice! Don't be afraid to experiment with different techniques and settings. Learn from your mistakes and enjoy the process. Photography is a journey of discovery - embrace the unexpected and be open to new perspectives.
With dedication and practice, you'll be capturing stunning landscape photographs in no time!